Getting Started
Pick the guide that matches your situation.
Quick Setup
You already know the date and location.
- Create your event and go to Event Info to set the date, location, and lodging details.
- Head to The Crew tab and add your people. Include phone numbers or emails so they can get updates.
- Send invites — crew members will get a text or email to RSVP.
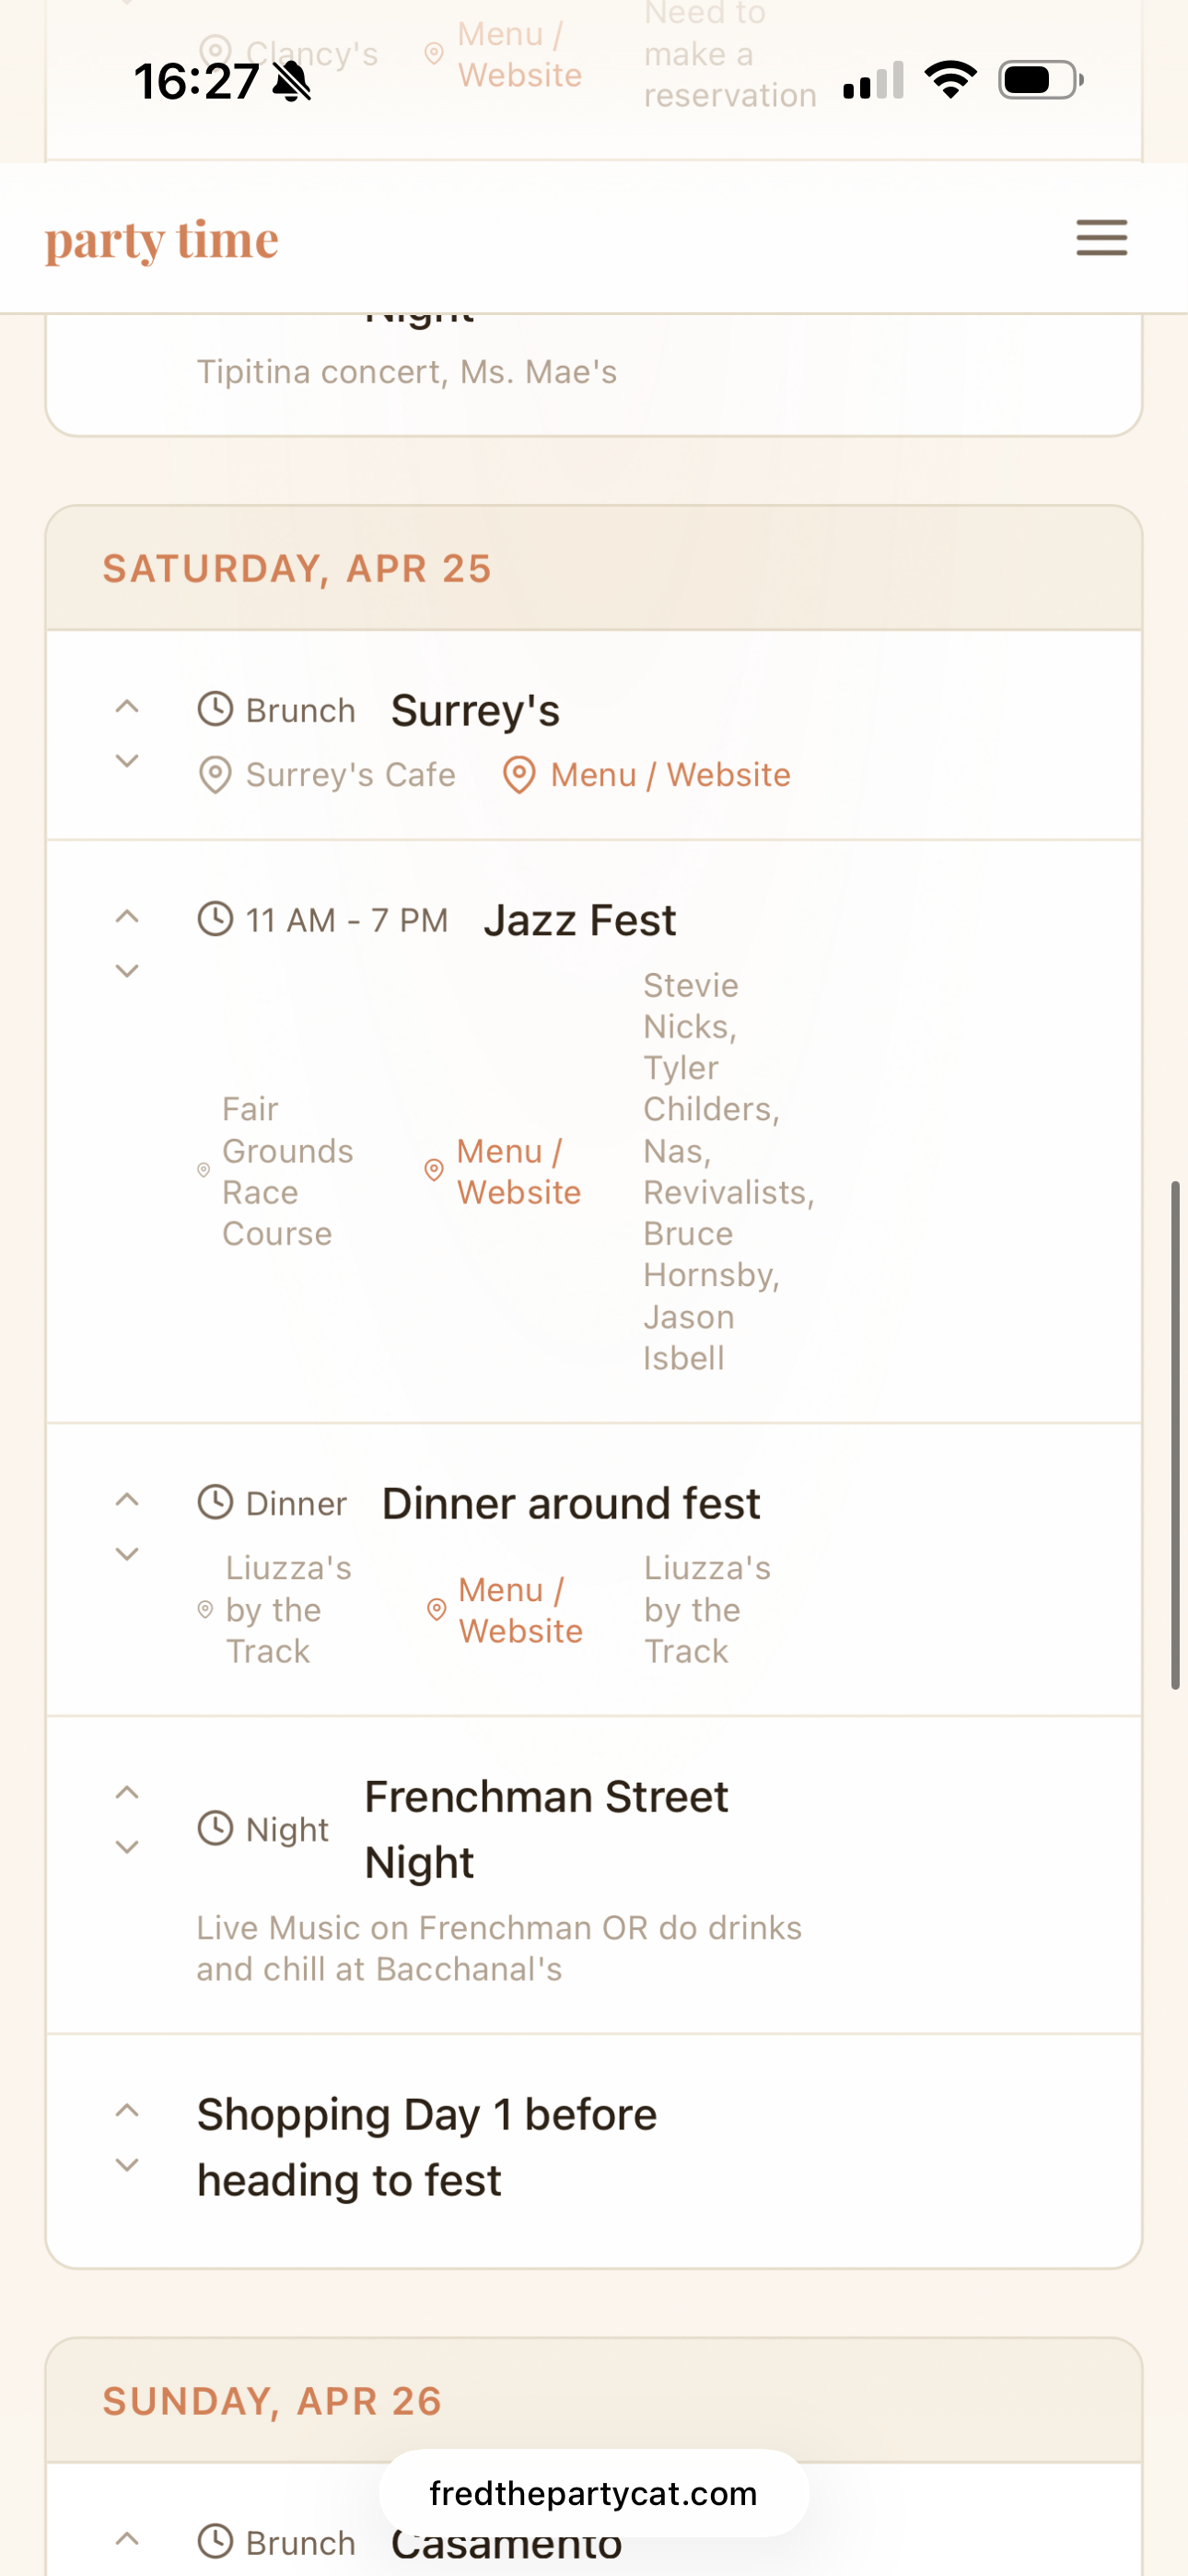
- Build your itinerary on the Schedule tab. Add tags like "Cash Only" or "Dress Code" and tips for each stop.
- Share the trip page link (from Event Info) so everyone has the plan in one place.
Let the Crew Decide
You want the group to vote on dates, location, and budget.
- Add your crew first — you need people before you can send polls.
- Go to the Dates tab, add date options, and send the poll. Crew ranks their availability.
- Once dates are settled, open the Location tab to add destination options and poll the crew.
- Use the Budget tab to set spending tiers and let the crew vote on what they're comfortable with.
- After votes are in, lock in the winners and start building the schedule.
- Use the AI Planner to generate itinerary ideas based on your crew's preferences and votes.
Planning with a Guest of Honor
There's a VIP (bride, groom, birthday person) who should have a say.
- Go to Event Info and fill in the Guest of Honor name and contact info.
- Add location options on the Location tab before asking the VIP — they'll pick from these options.
- On the Location tab, find the "Ask the VIP" section. Choose SMS or email and send the message.
- The VIP gets a link to a special decision page where they can pick a location, choose vibes, and select activities — no login required.
- Once the VIP picks, their choice shows as a banner on the Location tab and feeds into the AI Planner.
Planning Without a Guest of Honor
Everyone's equal — crew votes decide everything.
- Skip the Guest of Honor fields in Event Info — leave them blank.
- Use the date, location, and budget polls to let the crew vote on everything.
- The winning options are based purely on crew votes.
- Send a Preferences Survey from the AI Planner tab to collect activity and dining preferences from everyone.
Pro Tips
- Crew Invite Link: Instead of adding everyone manually, toggle on the Crew Invite Link at the bottom of The Crew page. Copy the link and drop it in your group chat — anyone who clicks it can join and fill in their own details.
- SMS consent: When adding crew with phone numbers, you'll need to check the SMS consent box. This is required for text messaging to work.
- AI Planner timing: The AI Planner works best after you've collected crew preferences and locked in a location. The more context it has, the better the suggestions.
- Transport tab: Crew members can submit their own flight, train, or car details. Send them a transport request from the Transport tab to collect travel info.
- Schedule tags: Use tags like "Reservation," "21+," or "Outdoor" on schedule items so your crew knows what to expect at each stop.
- Share page: The share link (in Event Info) is a read-only trip page your crew can bookmark. It updates automatically as you add to the schedule.
- Groceries list: Use the Groceries tab to crowdsource what to stock up on. Crew members can add items from their own link.
- Mark attendance manually: On the Crew page, you can click any crew member's RSVP status dropdown to change it yourself — handy if someone confirms in person or over text.
- Co-owners: Add co-owners in Settings to share organizer access. They can edit everything except event deletion.